原创文档,转载请将原文url地址标明
1年多没接触hadoop了, 最近hadoop发展很快,最近有些时间, 准备重新开始研究一下hadoop的源代码了, 为熟悉最新的hadoop情况, 先从1.2.1版本hadoop研究一下工作情况, 包括:安装,调试等等情况,然后再开始研究hadoop的源代码。
若是您不了解hadoop是啥, 请参考 百度百科hadoop的介绍
Hadoop的安装一般可以分为, 本地安装, 本地集群安装(每个hadoop组件都运行单独的jvm进程中), 最后是分布式集群安装。
本次安装,我们也采用这个顺序来进行系列的研究。
一. 下载hadoop源代码到windows
下面是hadoop的官方网站
http://hadoop.apache.org/
显示如下:
我们下载1.2.1版本的稳定版本
下载地址如下:
http://apache.fayea.com/apache-mirror/hadoop/common/hadoop-1.2.1/hadoop-1.2.1.tar.gz
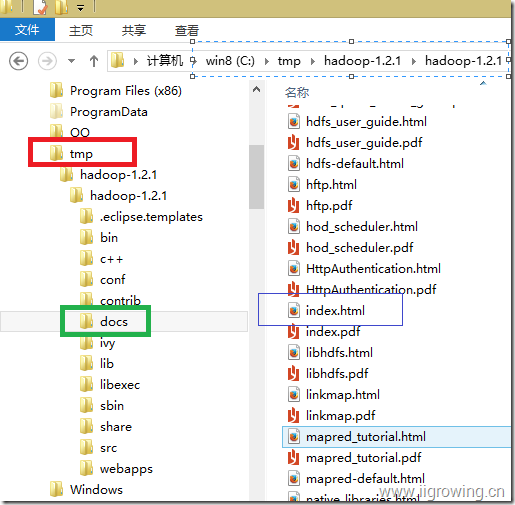
下载完成后, 解压缩文件, 这里源代码解压缩到 c:\tmp目录
注意: 1. hadoop在linux系列下工作, 尽管windows下可以进行安装, 但是需要安装很多其他软件, 这里也在linux下安装运行。
2. 这里之所以下载安装文件到windows下,我们目的是方便查看里面的文档,查看里面的帮助文档可以了解更多的hadoop情况。
下面进入程序目录, 打开帮助文档
二.查看hadoop的文档
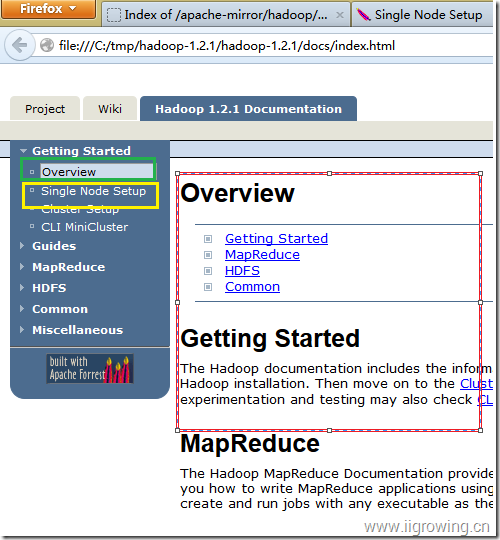
在浏览器地址栏中输入如下地址(请根据您的具体位置,调整相关地址,或者在资源管理里面直接打开 index.html文件)
file:///C:/tmp/hadoop-1.2.1/hadoop-1.2.1/docs/index.html
如上图
打开文档后,如下图:
Getting Started
The Hadoop documentation includes the information you need to get started using Hadoop. Begin with the Single Node Setup which shows you how to set up a single-node Hadoop installation. Then move on to the Cluster Setup to learn how to set up a multi-node Hadoop installation. Users interested in quickly setting-up a hadoop cluster for experimentation and testing may also check CLI MiniCluster.
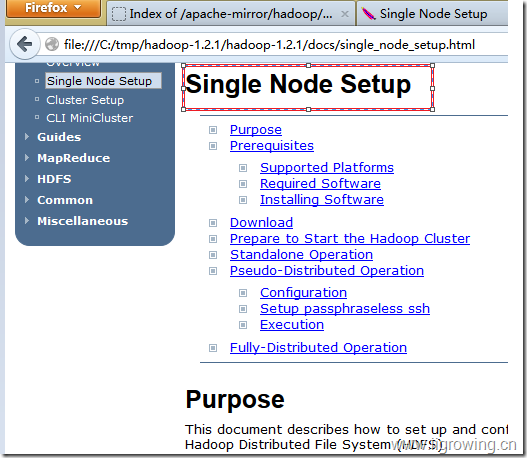
我首先查看本地安装指南
Prerequisites必须的环境
· GNU/Linux is supported as a development and production platform. Hadoop has been demonstrated on GNU/Linux clusters with 2000 nodes.
· Win32 is supported as a development platform. Distributed operation has not been well tested on Win32, so it is not supported as a production platform. Windows平台需要准备很多东西, 才能满足大量的脚本等。
Required software for Linux and Windows include:
1 JavaTM 1.6.x, preferably from Sun, must be installed. Java安装情况
2 sshmust be installed and sshd must be running to use the Hadoop scripts that manage remote Hadoop daemons.
Hadoop必须采用ssh进行相关管理
Additional requirements for Windows include:
3 Cygwin- Required for shell support in addition to the required software above.
在windows下必须这个环境, 我们本次在linux下进行, 因此我们没有这个安装的必要
If your cluster doesn't have the requisite software you will need to install it.
For example on Ubuntu Linux:
$ sudo apt-get install ssh
$ sudo apt-get install rsync
上面是 ubuntu进行安装的命令, 我们用的 centos环境, 因此我们命令如下:
$ yum install ssh
$ yum install rsync
On Windows, if you did not install the required software when you installed cygwin, start the cygwin installer and select the packages:
· openssh - the Net category
Download
To get a Hadoop distribution, download a recent stable release from one of the Apache Download Mirrors.
Prepare to Start the Hadoop Cluster在本地开始hadoop的相关情况
Unpack the downloaded Hadoop distribution. In the distribution, edit the file conf/hadoop-env.sh to define at least JAVA_HOME to be the root of your Java installation.
Try the following command:
$ bin/hadoop
This will display the usage documentation for the hadoop script.
Now you are ready to start your Hadoop cluster in one of the three supported modes:
· Local (Standalone) Mode
· Pseudo-Distributed Mode
· Fully-Distributed Mode
By default, Hadoop is configured to run in a non-distributed mode, as a single Java process. This is useful for debugging.
The following example copies the unpacked conf directory to use as input and then finds and displays every match of the given regular expression. Output is written to the given output directory.
$ mkdir input
$ cp conf/*.xml input
$ bin/hadoop jar hadoop-examples-*.jar grep input output 'dfs[a-z.]+'
$ cat output/*
Hadoop在本地工作情况, 默认采用的是本地文件系统, 单个jvm进程,我们可以充分调试我们的程序, 就像普通程序一样。
三.hadoop学习的硬件环境
a) 网络环境
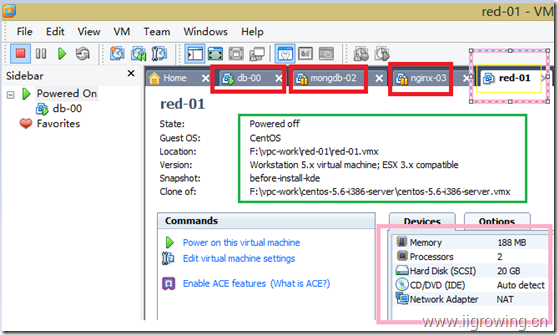
如上图, 我们创建了一个虚拟的网络系统, 进行本系列文章的研究。
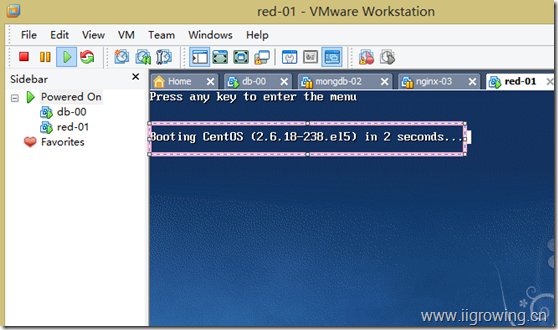
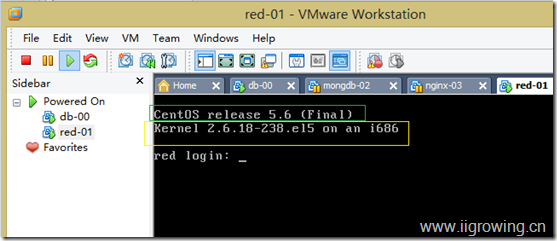
创建了一个虚拟的交换机, 然后创建4个虚拟的linux服务器(centos5.6版本), 分别是:db,red,mongdb, nginx, (后续在这个4个不同的服务器上安装不同的应用,进行其他研究。)
Ip地址也已经设置完毕。
我们的开发用笔记本通过虚拟交换机相连, 同时也同adsl相连接, 虚拟机交换机也同adsl相连接, 这样保证4台虚拟机及其也能同互联网联通。
b) 服务器环境
虚拟机环境如上。
环境结果情况如下图。
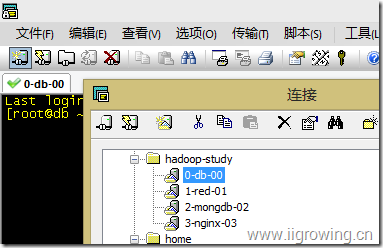
虚拟机链接方法:
c) 软件环境
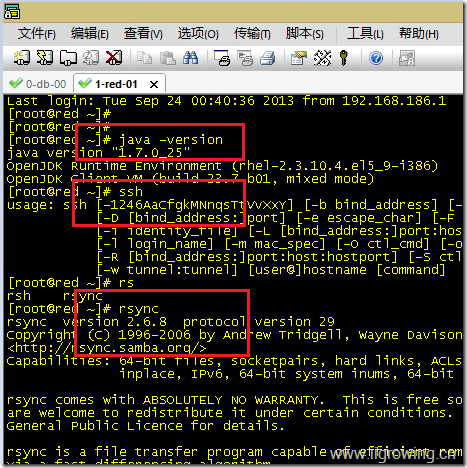
软件环境:
[root@red ~]# java -version
java version "1.7.0_25"
OpenJDK Runtime Environment (rhel-2.3.10.4.el5_9-i386)
OpenJDK Client VM (build 23.7-b01, mixed mode)
[root@red ~]# ssh
usage: ssh [-1246AaCfgkMNnqsTtVvXxY] [-b bind_address] [-c cipher_spec]
[-D [bind_address:]port] [-e escape_char] [-F configfile]
[-i identity_file] [-L [bind_address:]port:host:hostport]
[-l login_name] [-m mac_spec] [-O ctl_cmd] [-o option] [-p port]
[-R [bind_address:]port:host:hostport] [-S ctl_path]
[-w tunnel:tunnel] [user@]hostname [command]
[root@red ~]# rs
rsh rsync
[root@red ~]# rsync
rsync version 2.6.8 protocol version 29
Copyright (C) 1996-2006 by Andrew Tridgell, Wayne Davison, and others.
四.配置hadoop单节点环境
a) 下载hadoop
wget http://apache.fayea.com/apache-mirror/hadoop/common/hadoop-1.2.1/hadoop-1.2.1.tar.gz
下载后的结果如下:
[root@db apps]# pwd
/work/apps
[root@db apps]# ls
hadoop-1.2.1.tar.gz
b) 解压缩
tar xzvf hadoop-1.2.1.tar.gz
[root@db apps]# pwd
/work/apps
[root@db apps]# ll
drwxr-xr-x 15 root root 4096 Jul 22 18:26 hadoop-1.2.1
-rw-r--r-- 1 root root 63851630 Sep 20 16:02 hadoop-1.2.1.tar.gz
c) 测试
[root@db apps]# cd hadoop-1.2.1
[root@db hadoop-1.2.1]# ls
....
[root@db hadoop-1.2.1]# pwd
/work/apps/hadoop-1.2.1
/work/apps/hadoop-1.2.1
[root@db hadoop-1.2.1]# mkdir input // 创建输入文件目录
[root@db hadoop-1.2.1]#
[root@db hadoop-1.2.1]# cp conf/*.xml input // 拷贝文件到输入文件目录
[root@db hadoop-1.2.1]# bin/hadoop jar hadoop-examples-*.jar grep input output 'dfs[a-z.]+' // 执行hadoop的相关目录
Error: JAVA_HOME is not set. //错误信息
[root@db hadoop-1.2.1]#
用下面的命令, 找到java的目录
[root@db bin]# find / -name rt.jar
/usr/lib/jvm/java-1.7.0-openjdk-1.7.0.25/jre/lib/rt.jar
[root@db bin]# cd /usr/lib/jvm/java-1.7.0-openjdk-1.7.0.25/
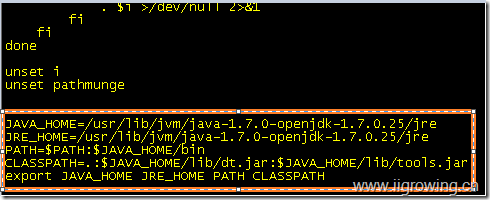
根据上面信息, 需要添加 下面信息到 /etc/profile
JAVA_HOME=/usr/lib/jvm/java-1.7.0-openjdk-1.7.0.25/jre
JRE_HOME=/usr/lib/jvm/java-1.7.0-openjdk-1.7.0.25/jre
PATH=$PATH:$JAVA_HOME/bin
CLASSPATH=.:$JAVA_HOME/lib/dt.jar:$JAVA_HOME/lib/tools.jar
export JAVA_HOME JRE_HOME PATH CLASSPATH
输入如下命令:
vi /etc/profile 编辑文件, 将上面信息放到文件最后面,如下:
保存文件推出
source /etc/profile 使刚刚编辑的文件生效
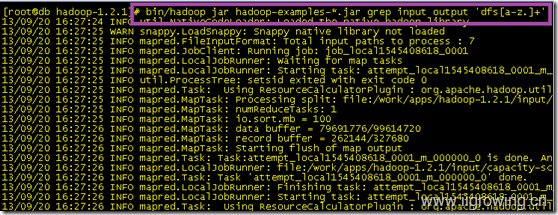
然后输入如下命令, 执行hadoop的相关命令
bin/hadoop jar hadoop-examples-*.jar grep input output 'dfs[a-z.]+'
运行结果如下:
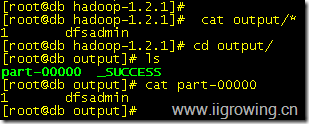
检查结果文件:
[root@db hadoop-1.2.1]# cat output/*
1 dfsadmin
[root@db hadoop-1.2.1]# cd output/
[root@db output]# ls
part-00000 _SUCCESS
[root@db output]# cat part-00000
1 dfsadmin
[root@db output]#
截图如下:
后续我们将研究, 本地的伪分布式配置,最后我们研究集群下工作情况.
